Basic Photo Corrections


Ever take an indoor photo and get that horrible yellow tint from the lighting? It's super annoying, but I can share how I easily use Photoshop to correct that problem.
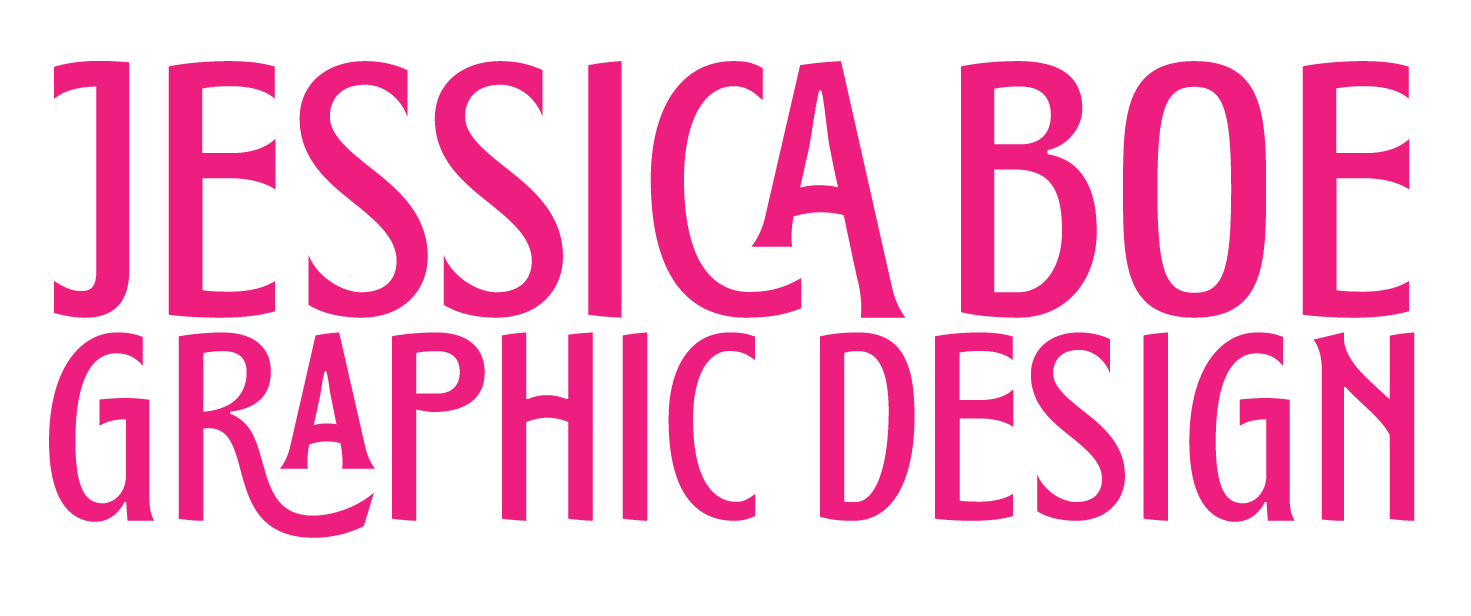
Before corrections
This is my daughter, Sophie. The photo came out pixelated, probably because it was taken in a room with low light and no camera flash. To try to get rid of some of that pixelation, I started by using the "Reduce Noise Filter" in Photoshop. Then, I applied a "Levels" adjustment layer to help correct brightness/darkness and color. I selected the black eyedropper and then selected the darkest spot on the photo. Then I selected the white eyedropper and selected the brightest spot on the photo. (If you don't like what happens when you click a certain dark/bright spot, you can always undo and click a different spot to get the desired result.) Then, to get rid of the remaining yellow tint, I added a "Color Balance" adjustment layer. I added to the cyan and blue to balance out the yellow. I added the most in the highlights and shadows, and just a little in the midtones. Last, I added a "Curves" adjustment layer to add a little extra contrast. That's it!
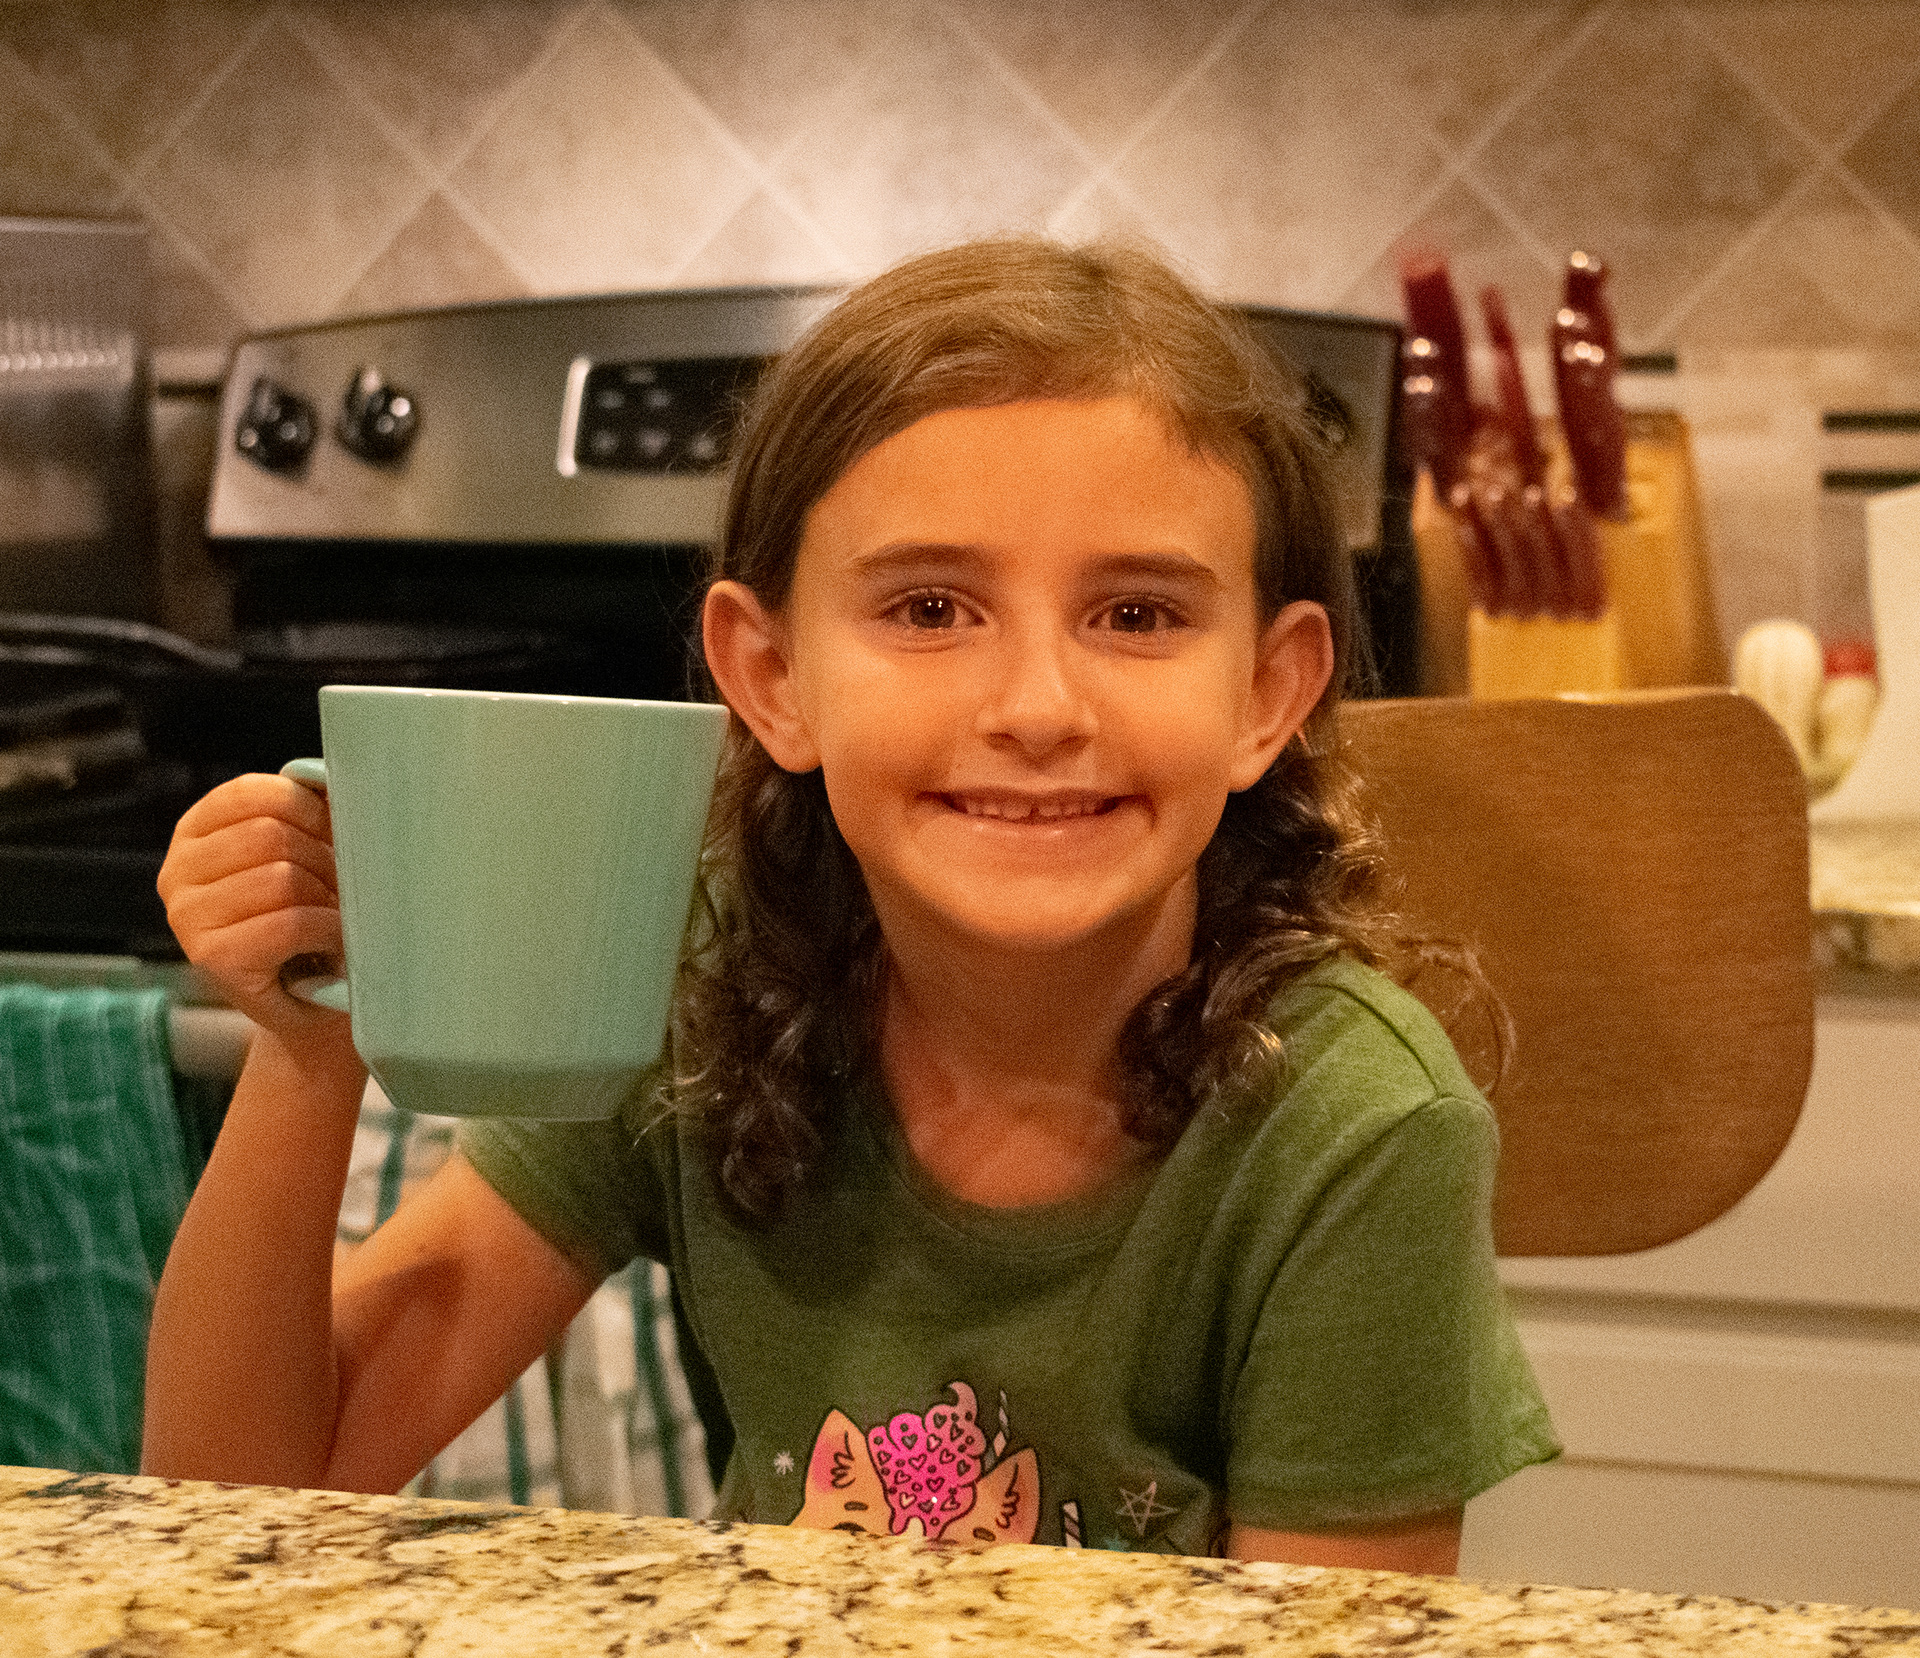
After corrections
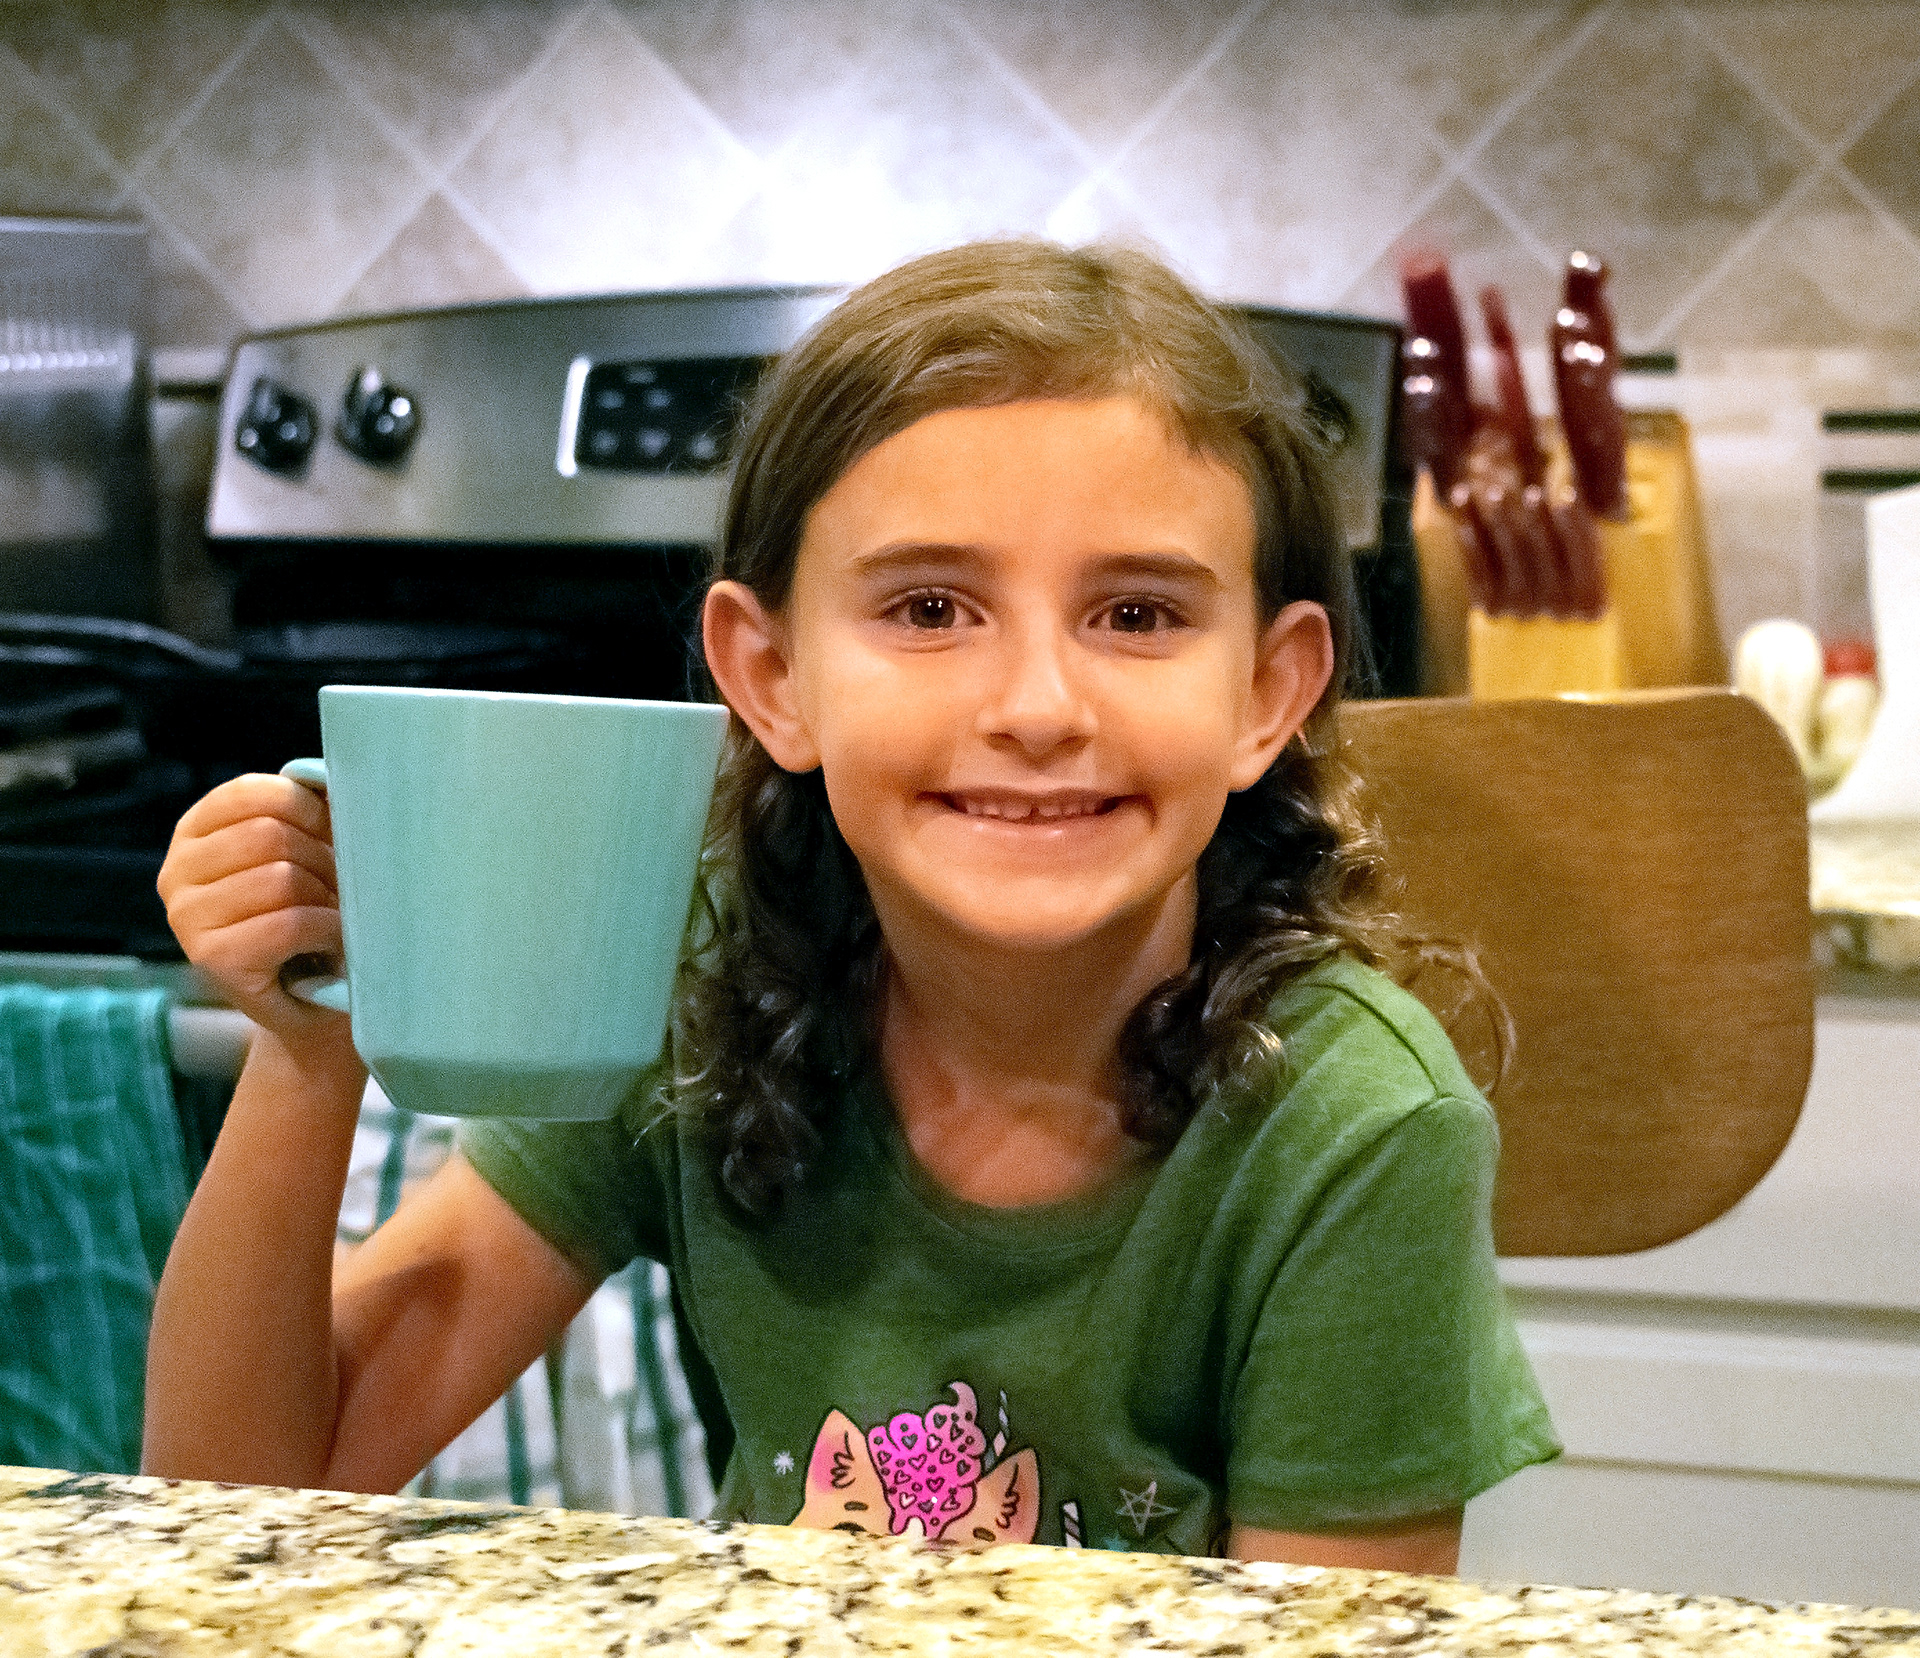
The last photo is just to show you an extra trick, selective color. For the selective color photo, I first combined all of the layers by pressing CTRL+ALT+SHIFT+E so that my photo with all the adjustments would become one new layer. By doing it this way, it still preserved all of my original layer. I opened the new layer in Camera Raw Filter. I selected the adjustment layer brush with auto mask unchecked, turned the saturation to 0, and painted the whole photo as close as I could to the edges of the coffee cup. Then I selected auto mask and painted along the edge of the coffee cup. As long as I didn't get the center mark of the paint brush on the coffee cup, just the outside ring, the computer did a pretty good job of masking of the cup. I went back and did some manual adjustments to the mask, to get it just right. After that, I went through the hue, saturation, and luminance color sliders to try to get the colors on the coffee cup to really stand out. I really like the auto masking tool in Camera Raw. It really made this project easy!
Selective Color