Sharpened Portrait
This project is very subtle and you may not even notice much of a difference between the two photos. The goal was to sharpen the original photo just to bring out some fine details and to add a little more clarity to the photo. Can you spot the differences?

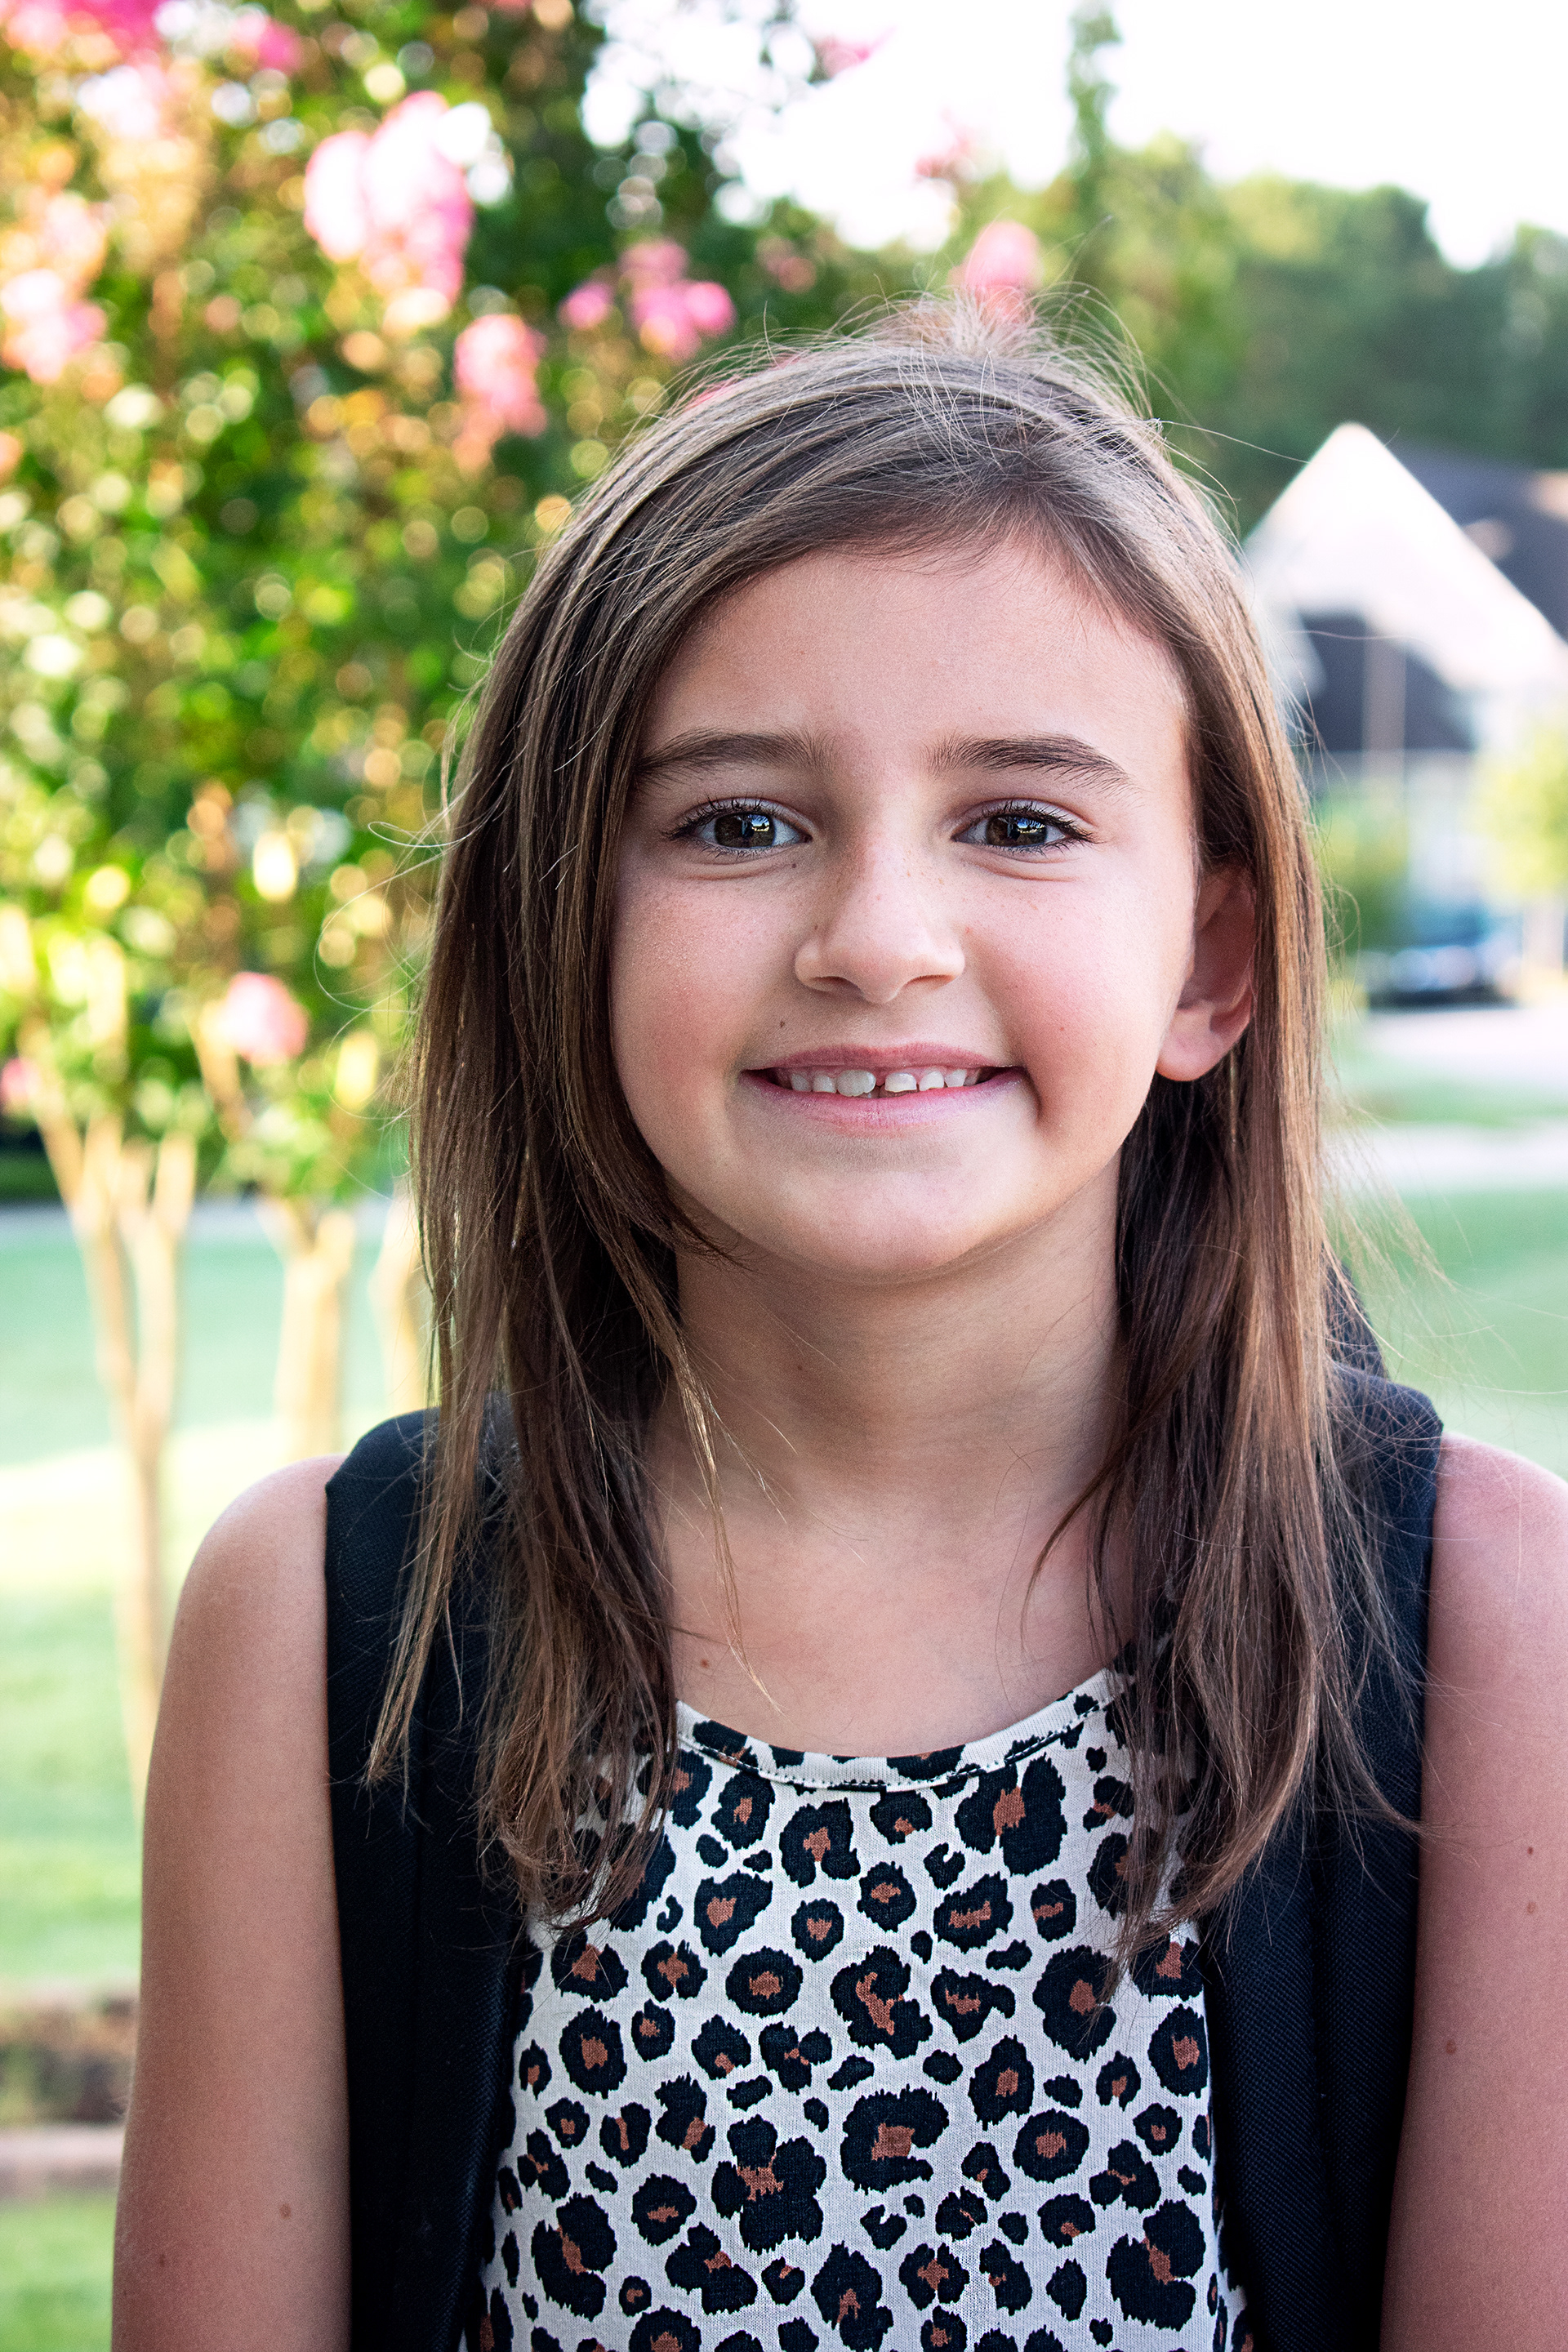
Before Sharpening After Sharpening
So first, I used the Sharpen Tool and set my brush to a soft round brush at 50% strength. I painted over any of the areas I wanted to have more definition. (By the way, this is my daughter Sophie on her first day of 2nd grade this year) I sharpened her eyebrows, eyelashes and eyeballs, lips, whites of the teeth, hair, and her shirt.
I wasn't quite satisfied with the results, so I applied a High Pass Filter set to Hard Light and 50% Opacity. I didn't want the filter to apply to the background, because it's meant to be out of focus, and would not require any sharpening, so I applied a mask to the High Pass Filter layer so that the filter would only show through on my daughter, and not the background.
That's it!